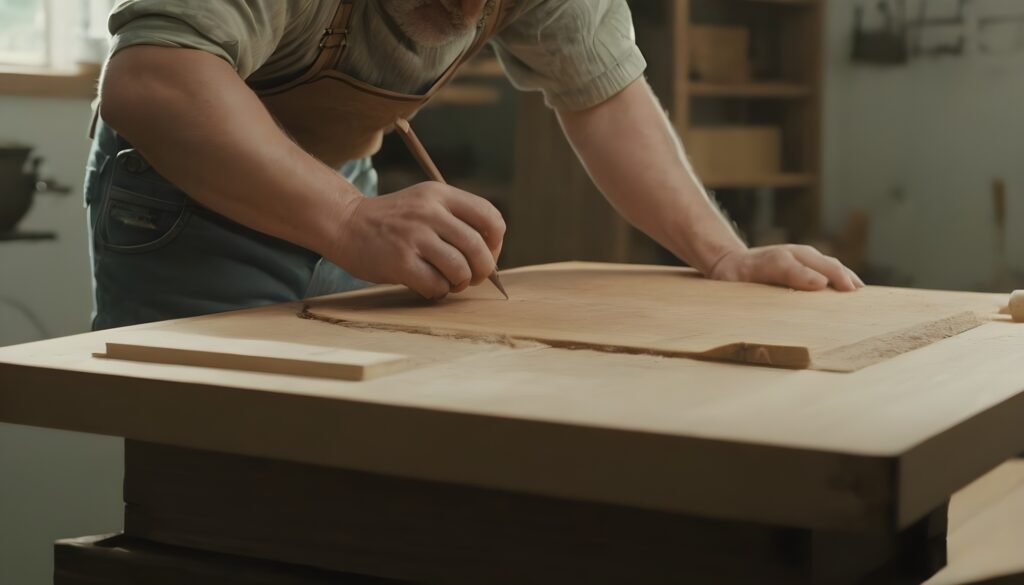
Woodworking Tips for Project Planning

Although we have previously gone over five steps, there is still one more thing to think about. It is more of a “post-step,” in actuality.
Always document the challenges encountered during the project so that they can be avoided in the future. Store your thumbnails and comments in a notebook so you can refer to them later.
This way, all of your previous design skills will be at your fingertips when you start working on your next project.
Since every project you work on has its own distinct set of design functions and visual effects, there will be regions exclusive to each project that you may learn from as well as parts that are shared by other projects. The more projects you work on, the more comprehensive your knowledge will be.

Function should always come first
What use does your wood item serve? If this project is a cabinet, for example, what will it be used for storing, and what kind of aesthetic effect do you want it to have?
In case it’s a table, how many seats are required and what kind of aesthetic do you want it to have in its environment?
It may sound straightforward, but if you skip this step in the process, the final result will only get fuzzier and less distinct as you go along.
Now that you have a rough notion of the broad direction you wish to go, naturally based on sketching.
What kind of supplies are you going to need
Is this the kind of project that uses “solid wood” or “veneer over substrate”? The majority of projects combine the two, but it’s best to be clear about this up front.
The tools, cutters, processing methods, and waste estimates needed for a project that is primarily constructed of veneers over substrates are very different from those needed for a project that is primarily constructed of solid wood.
You’ve now established the broad scope of your undertaking.
Make a plan for the tools and cutters you will require
Making the determination of what kind of router bits, shaper cutters, and other gear will be required to finish your project in accordance with your design will require some consideration and a number of thumbnail sketches.
Draw out the intersection of a table leg and table rail, for example. Imagine using the tools at your disposal to make the necessary cuts. This is the moment to look into your choices if, during this procedure, you discover that you are missing a certain saw blade, router bit, or cutter.
If a particular tool is unavailable or prohibitively expensive at this point, you can still alter your design.
identifying the precise instruments you’ll require for project design
Create and refine your thumbnails
It is a given that while you work on your project, you may encounter obstacles that were not anticipated in your initial ideas.
When this occurs, you don’t necessarily have to start over from scratch, but you will need to make some adjustments to existing designs and possibly add some new ones to help you better understand the affected portion of the project.
These planning tweaks shouldn’t call for new tools; instead, they should only involve adjusting the depth of cut or a few other parameters to better fit one project item to another.
Decide what adhesives, fillers, and finishes you’ll need.
This phase doesn’t have to be as involved as the others, but you still need to make sure that what you have is appropriate for your work and your material by doing extensive research online or through other trustworthy sources.
For your reference, I went over some of the distinctions between gap-fillers and glues in my previous essay.
Finishes come in several forms, such as oil applied by hand, varnish applied by brush, or sprayed lacquer. Each has unique qualities that make it easier to apply and more durable under certain circumstances.
Stains and dyes are other options for applying color, and they also have unique qualities that contribute to their endurance.


Leave a Comment